Showing posts with label Linear Bearing. Show all posts

Sunday, November 24, 2013

$#!t I've been working on

It's been a while since I last posted, aside from parenting I've been chipping away at stuff.  These parts are for a scale model of a sculpture that will pay off the laser cutter.


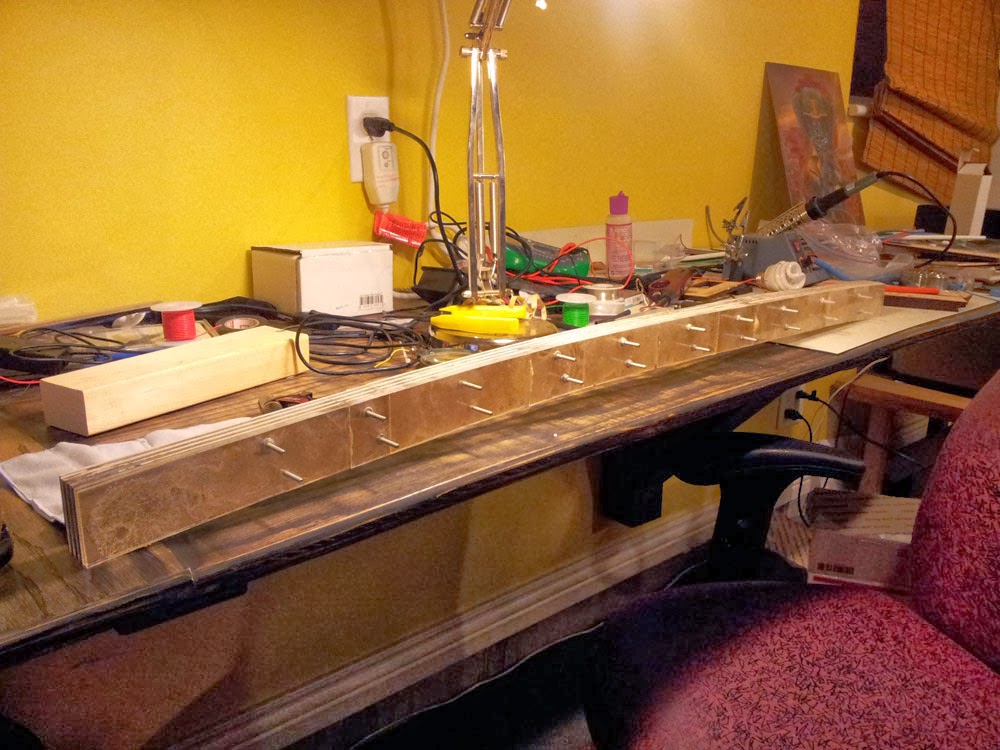
Thankfully, most of this piece is going to end up frosted (in this case roughed up with fine grit sand paper) since the bubbles in the glue job look annoyingly ugly.  The interior will be lit with RGB LEDs and controlled by some manner of Atmel chip.

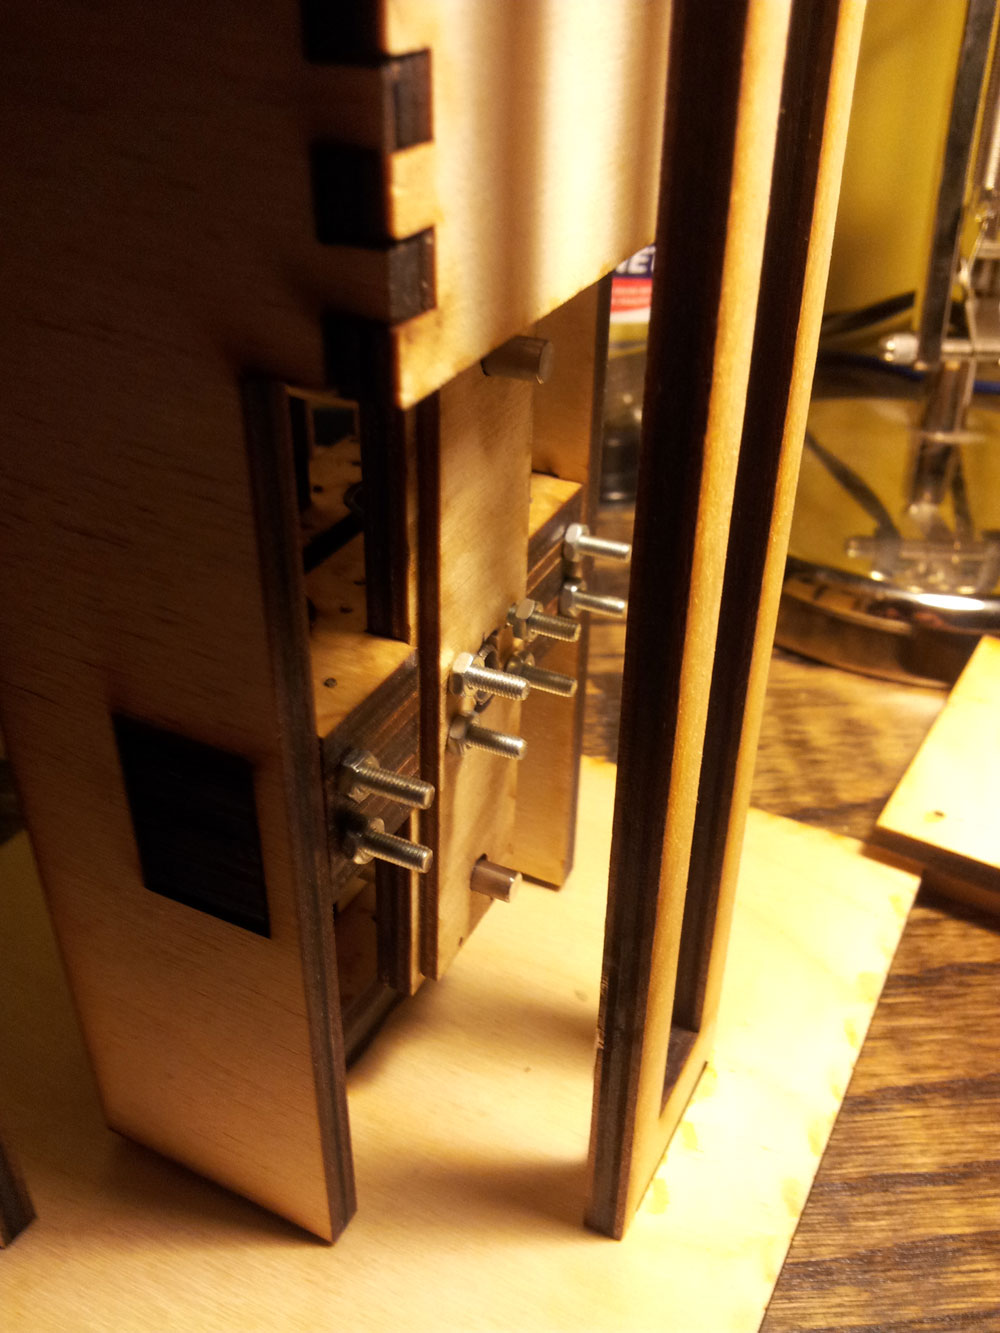
I continue to attempt to create a block lifter that's properly aligned.  This is my first attempt at 3D printed parts, my thanks to fellow EnjiGo member Duane.  Much to my dismay I set the tolerances too tightly and the parts required a lot of filing and boring before I could install the hardware (which led to a misaligned linear bearing).


Last but not least, behold a laser cut glue-form for making bokken (wooden practice long sword).  I recently started practicing Iaido (which is awesome) and have become interested in creating my own special brand of bokken.


Tuesday, June 18, 2013

Block lifter V0.3

At long last I've finally started getting parts glued up.  This version includes a slot interruptor to prevent the damn thing from damaging itself.  Still ended up doing lots of grinding and cutting on this revision.

(glued parts, bread boarded circuits and a hacked servo)

(block V0.3 getting glued up)

Friday, May 17, 2013

Block lifting in action... slowly...

So here we go folks, actual evidence that stuff I design sometimes sort of works.  Im using a SM-S3317S full rotation servo to drive the set up.  I have yet to puzzle out how it "works" with the Arduino servo library, that is to say I can figure out how to get it going, but not how to stop the damn thing.  I'm sure a little more research will reveal the answer.  At the end of the day that's not the servo solution I'll be using, so doesn't matter too much.  As +Jason Hoff pointed out I need to use a power screw with a more course thread to increase the blocks speed, thankfully I already have some different screws for this use.  Anyway here's the video:

Thursday, May 16, 2013

Closing in on v0.2 assembly


First let me say that upon assembling block lifter v0.2 I have found numerous flaws in design (I'm sure I've said this before).  My solution for most of these flaws was drill bigger holes and use more glue, this strategy seems to have lead to misalignment and imprecision.  Regardless I think this prototype will basically do what it needs to.  Going to redesign the carriage component so it's easier to assemble and align.


Sunday, May 5, 2013

Obsolete but not neglected...

With a bit of spare time I decided to get block lifter V0.1 a bit more assembled.  I'd still like to see how well or poorly this design works.  As noted, my drill holes are not super precise (and the alignment of a number of key parts was a bit skewed while they were being epoxied together), so my trusty hand reamer got some good use today.  Here are some shots of the assembled rack carriage as well as shot of the carriage held in the block (held together with a rubber band).


The vertical slide poles will be cut down to size (that is to say, there is a top to the block).


A view of the rack carriage as it will be when assembly is completed.


These screws are way too long, plus they're pan heads and to light in color.  If I can find them I'd like to get some black anodized countersunk screws.


Behold the ugly as sin panhead screws.  Just plain fugly.


The rack in all of its glory.


Saturday, April 20, 2013

The Epoch of Epoxy...

The past couple of days have consisted of using a variety epoxy based adhesives to stick small bits of wood together.  Behold the result of JB weld, slow setting epoxy and fast setting epoxy...


In terms of adhesives I like the consistency and strength of JB weld, but it's ugly as sin where it oozes out on to the wood.  The fast setting epoxy (5 minutes) seems to set too quickly for the applications I am using it for.  The slow setting stuff is generally a nice compromise, but it's not tacky enough for some situations.


When the glue age comes to a close it'll be time to move on to drilling out the parts...

Friday, April 19, 2013

Think this design is intricate enough...


I have a feeling I'm going to need to redesign this particular part for the main prototype.  Laminating these parts is pretty time consuming.